Every 4 years, you can pretty much count on me slowly melting into my couch as I watch every second of Olympic coverage available. OK, so maybe that's a bit of a stretch, but I do like to watch as much of it as I can, and the tiny people, apparently, feel the same way. They are {so} excited about the Olympics that my older daughter is wearing only red, white & blue, and both girls have made a banner to hang in our dining room to cheer on Team USA.
Having seen a cute idea for t-shirt making on Pinterest (of course...) I decided to offer them the chance to make their own Olympic t-shirts. They jumped at the chance. It's pretty quick & simple...and very inexpensive, depending on how much you want to pay for a shirt.
First, get some sand paper and fresh crayons. The finer the sand paper, the more solid the design will turn out, so we went with a nice fine paper to make sure everything would show up well. Then I set the girls loose designing their shirts. IMPORTANT: If you're writing words / letters, make sure you write them mirrored so that they will show up correctly when you iron the design onto the shirt. Here are the tiny people, hard at work. They both started over once b/c they weren't happy with their original designs.
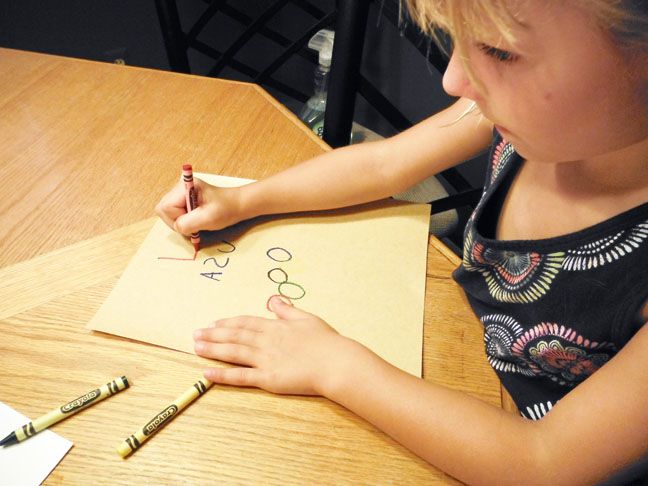
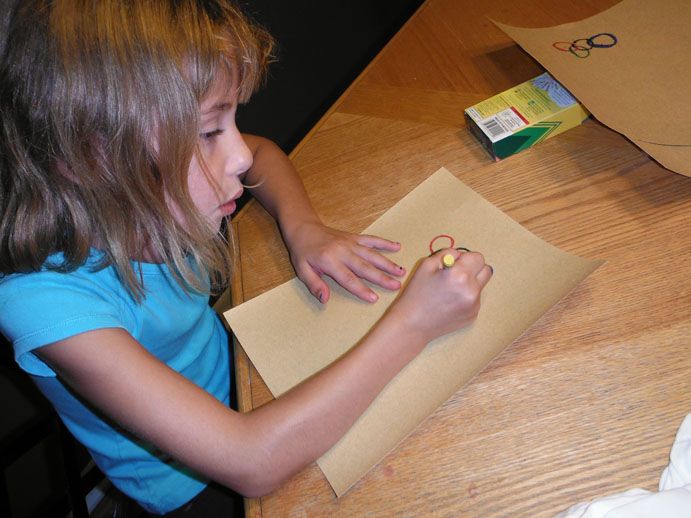
Next, you're going to take a piece of cardboard paper (I used the sand paper packaging) and wrap it in aluminum foil. Put it inside the t-shirt before you start to iron.
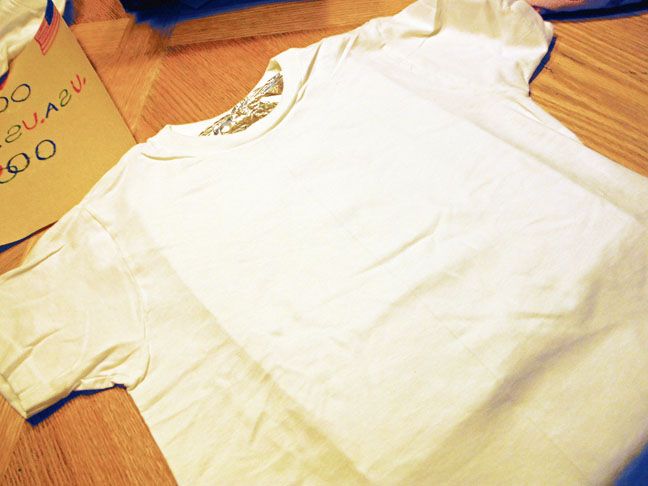
Place the sandpaper, design side down, onto the shirt. Make sure it's centered!
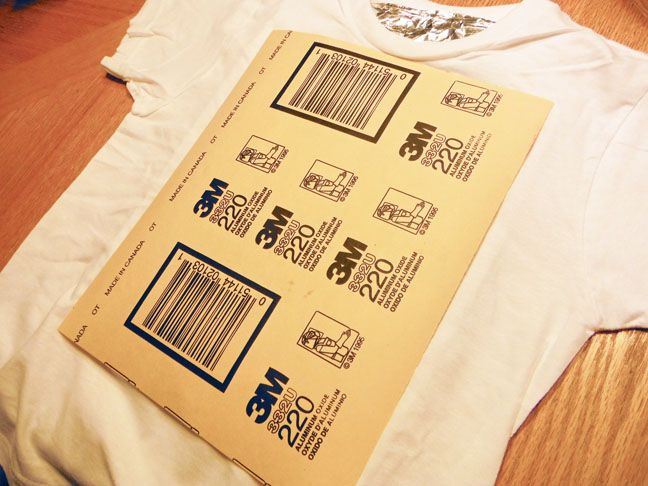
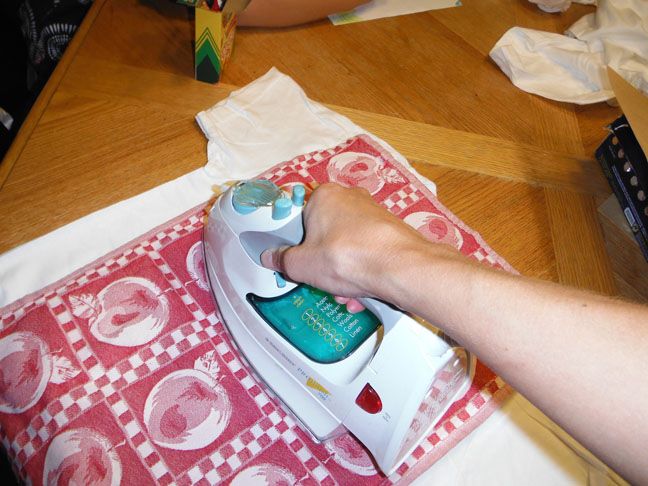
If you're concerned about your iron, you can put a linen dishcloth or paper towel on top of the sand paper to offer more protection. Hit it with your iron (set on the cotton setting) and Take Your Time. Better to be there too long than not long enough, right? Just keep the iron moving so you don't scorch anything and you'll be in good shape.
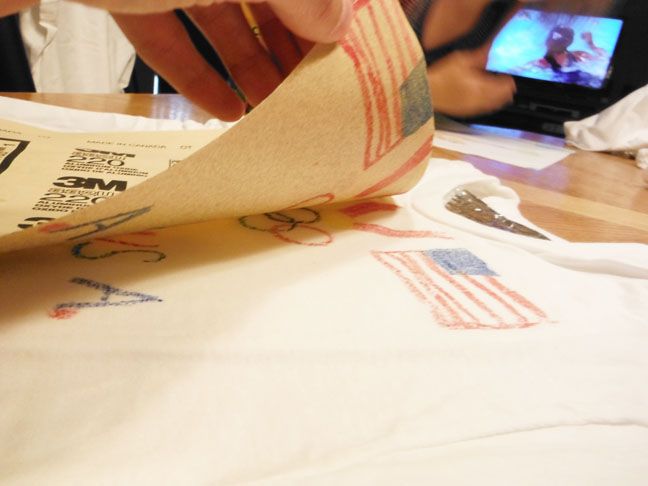
You can carefully pull up one corner of the sand paper to make sure it's working if you want to. Much easier to set the corner back down and continue ironing than it would be to try to reallign it if you lifted the whole thing.
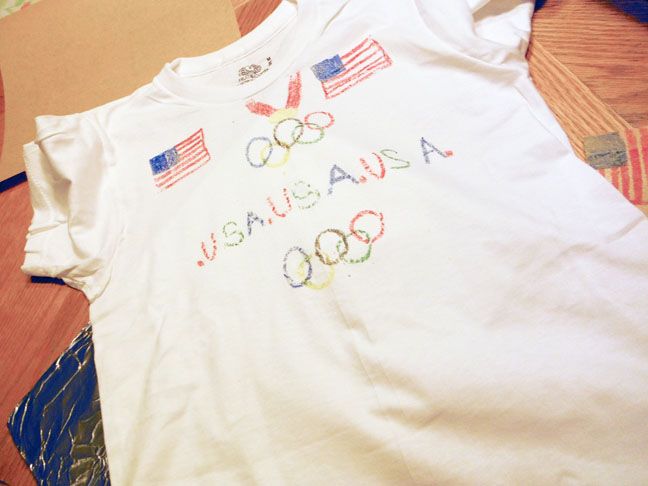
Here's the not quite as tiny person's finished shirt. She was {thrilled} with how it turned out.
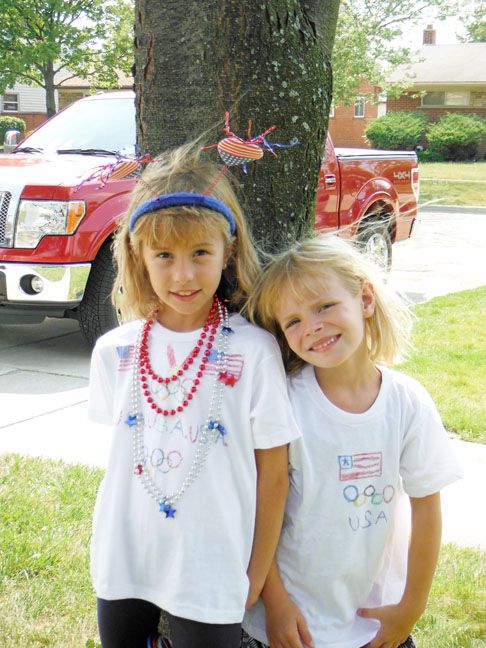
And here are both of the tiny people modeling their new creations.
Another blogger suggests setting the color by tossing the shirt into the dryer for 20 min. I was lazy and didn't do this. We'll see if I regret it. ;) The first time you wash it, was it seperately, and in cold water.
All-in-all, this was a great project for the tiny people to work on. It was fun for them, super easy, and the only thing they needed me for was the ironing. :) I'm sure we'll be doing this project again in the future!


No comments:
Post a Comment