
The second all of that is put away, I get to put up {my} stuff, and this year I decided that a new wreath was in order.
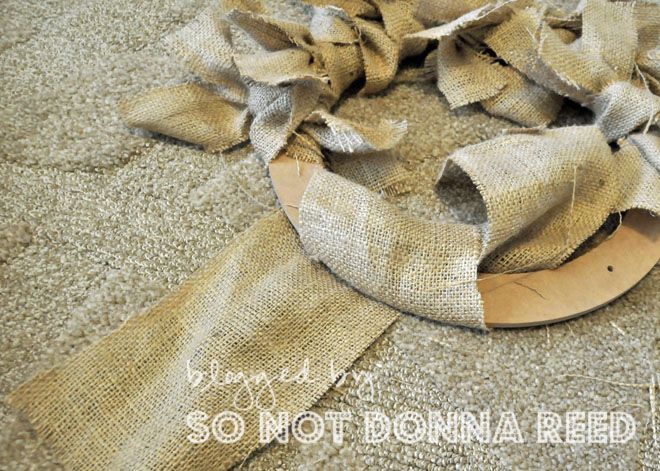
I started with my favorite flat wreath form and some good old fashioned burlap. I cut it into strips that were approximately 3-4 inches wide, and wrapped each strip around the form once to make sure I was covering as much as the form as possible.
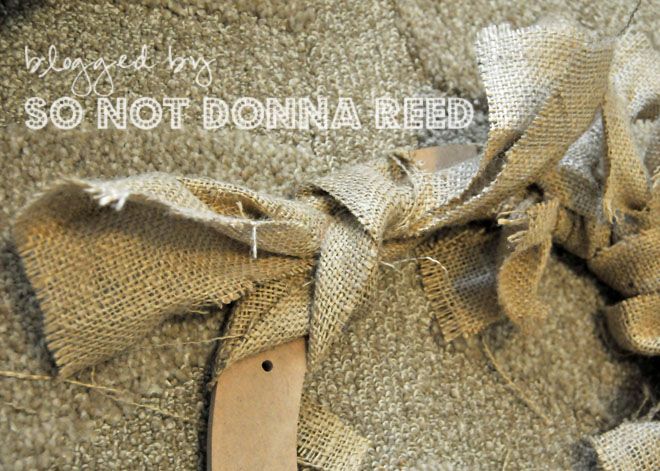
After taking the strip around the form once, I then tied the strip into a knot, pulling as tightly as I could.
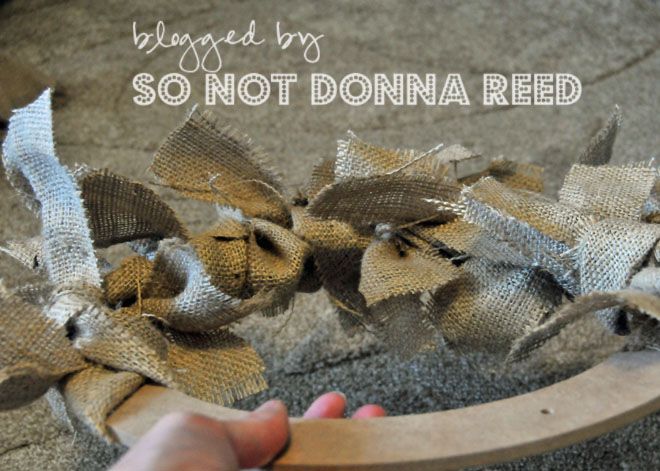
Some of the strips were a little on the long side, which made it easier to tie, but didn't end up looking the way I wanted it to, so I ended up trimming the ends. I frayed ends a bit, too, to give it a more rustic look,and also cut some of the ends length-wise to add more shape to the wreath.
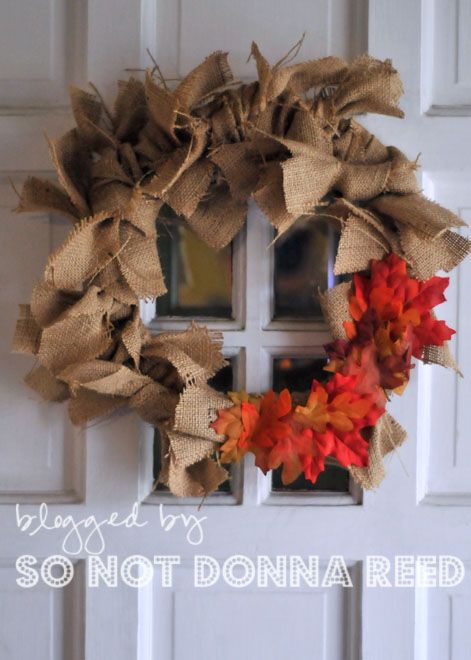
I left one section of the wreath a bit flatter as I was going, to leave a space to put on some fake leaves, using my trusty glue gun. I love the pop of color it gives!
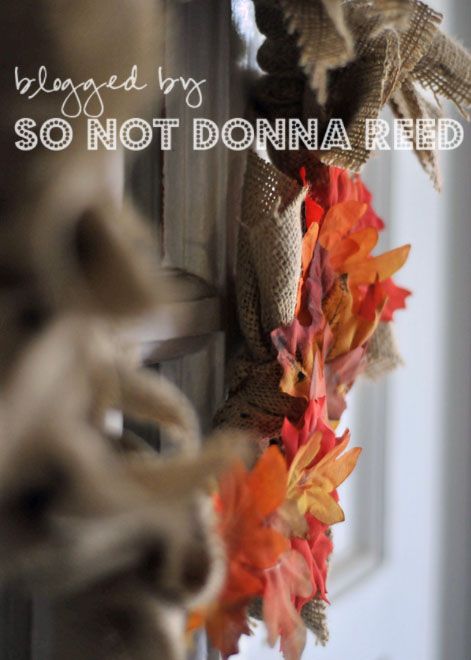
It adds a bit of autumn happiness to our front door, and it was super easy and inexpensive to make. Win - Win - {Win}! :)

No comments:
Post a Comment