Friday, December 30, 2011
New Year's Eve Eve!
Thursday, December 29, 2011
SO Ready for 2012!
Tuesday, December 13, 2011
Just So Ya Know
Saturday, December 10, 2011
The Gift of Date Night
First, some housekeeping.
1) I do know that one ties a "knot" rather than a "not", so I'm a bit embarrassed by the typo in my last post ~ but for some unknown reason blogger will not allow me to edit my posts. Ask me how happy I am about that!
2) I linked up the Christmas Printable and the organization posts to the weekend wrap-up party at TT&J, which you can find here....
Now onto the {fun} stuff!
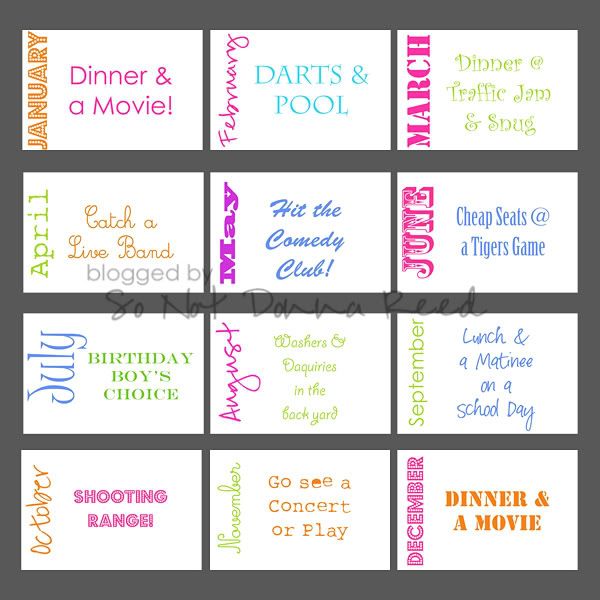
I struggle every year with what to give the Hubband for Christmas. He's one of those people who has a lot of hobbies and interests...and pretty much everything he could ever want or need to enjoy said hobbies and interests. Making things even {more} difficult this year is the fact that, within the last 6 months, we've had to purchase replacements for our dead dryer, our dead microwave, and our dead flat-screen TV. So, yeah ~ you could say there's a bit of a budget. Which is why I decided to do this:
That's right ~ a full {year} of pre-planned dates! I tried to come up with things that I know the hubband will enjoy, and peppered in a few that could be daytime dates for while the tiny people are at school, thus eliminating the need for a sitter.
The gift itself will be delivered in the form of 12 4x6 photo prints. Total cost = under $2. I'm debating about running out and picking up a couple of movie passes, as motivation for the January date. We'll see if I get that far!
Friday, December 9, 2011
Inexpensive Organization
First, this....
You may remember when I bought these magazine organizer thingies and covered them in paper. Well, I swiped 2 of them from my craft room and moved them into the kitchen. The first holds all of those huge, unwieldy barbecue tools ~ spatulas, forks, tongs, etc. ~ in a semi-upright, yet contained position. It's sooooo nice that they all stay where they're supposed to be now! The second box holds our tinfoil, freezer paper, plastic wrap, and all that good stuff. So far, we're {loving} this arrangement!
The next thing is also kitchen-related...
After shuffling tiny person #1's lunch box from spot to spot on my counters, I decided I had to find someplace where it could {belong}. So I picked up a pair of itty bitty command hooks and put them on the inside of the cabinet door. Now it has a home, and it's right next to the container that holds all of the plastic bowls that I use when I pack her lunch! Perfect. I put the second hook up, too, so it will be ready when tiny person #2 has a lunch box, too.
Next up, a quick and easy tip for the bedroom! Not {that} kind of tip! What kind of blog do you think this is? ;)
I love having a down comforter. It's....well....{comfy}! What I don't love is having to struggle with the darn thing to keep the comforter's corners in the corners of the duvet cover. So, a while ago, I sewed some ribbon (in a bright, easy to find color) into the upper, inside corners of the duvet cover, and onto the corners of the comforter.
a> I've tried tying them a few different ways, but what seems to work best is to put both ends of the "V" shaped side through the loop on the comforter, then knot tie a not. Or 2. ;)
No more fighting with my comforter, or waking up in the middle of the night with hot feet and a cold upper body.
So, there you have it! Nothing earth-shattering....but these few little things sure do make my life easier.

Monday, December 5, 2011
Christmas Cheer!
Monday, November 21, 2011
The Places We Love
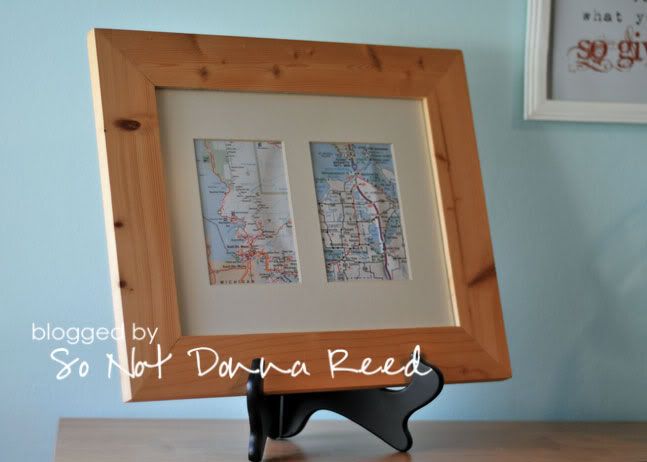
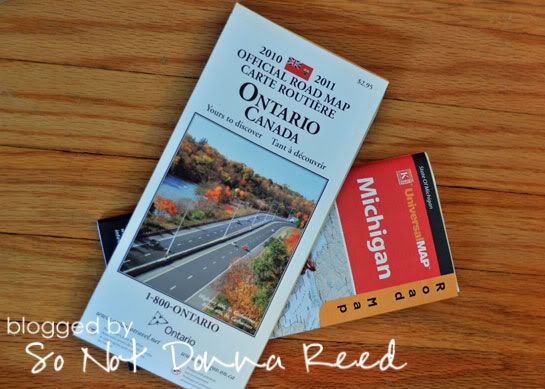
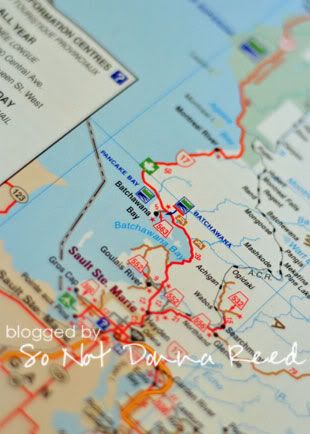
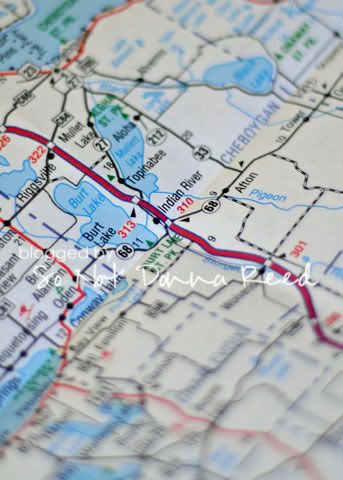
To start off, I picked up a map of Michigan at the store ~ because the hubband's favorite place is Indian River, MI, where his family has been spending time Up North for decades. I didn't have an old Michigan map lying around that would work for this purpose, so I didn't have much of a choice. My own favorite place was a bit trickier. Alona Bay, Ontario isn't on any map. Of course, I knew the general area, and I know which little bay is ours, so I wasn't worried so much about it not being labeled. But....I didn't have a map of Ontario, either. So I got smart. States, provinces, countries....they love tourism. And many places will be more than happy to send you a map for {FREE!} if you look up their tourism department online and fill out a quick request form. That's how I scored the free map of Ontario that I needed for this project.
I started out by pinpointing the areas on the maps that I wanted to use, and determining which section I wanted to have centered in the available area.
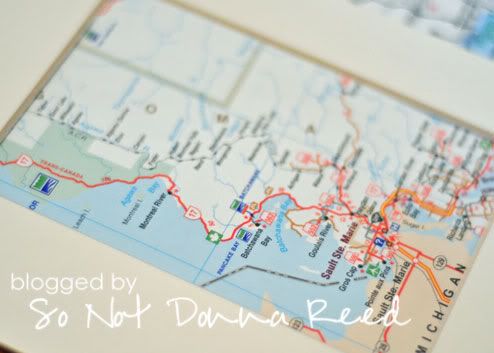
I lined up the maps under the mat (which was under $1 at the craft store), and made large, general cuts, so that I could come back later and trim them down to the correct sizes. Better too cut off a little bit and trim off more than to cut off too much and ruin the maps!
In the end I have a very quick, simple and {not-fussy} bit of map art that the hubband & I are both happy with.
I'm toying with the idea of painting the frame or doing some sort of finish to make it look more weathered a worn, but for now I'm not going to mess with it.
Friday, October 28, 2011
Happy Halloweeeeeeen!
One of the big hits of the festival is a drawing for decorated pumpkins. In years past, the teachers have had their classes choose a theme and they've each decorated a pumpkin, but this year, they opened it up and asked for volunteers. Of course, I had to do it. So now, I'd like to introduce you to....
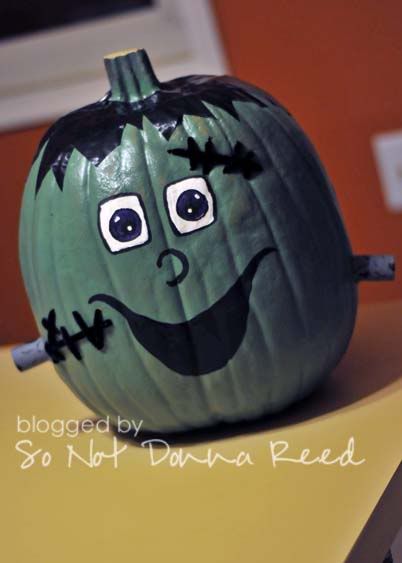
Funkinstein...
I started out with a regular Funkin (brand name fake pumpkin) ~ and I promptly forgot to take a "before" photo. I used a lovely green (moss) spray paint & gave the Funkin a couple of coats.
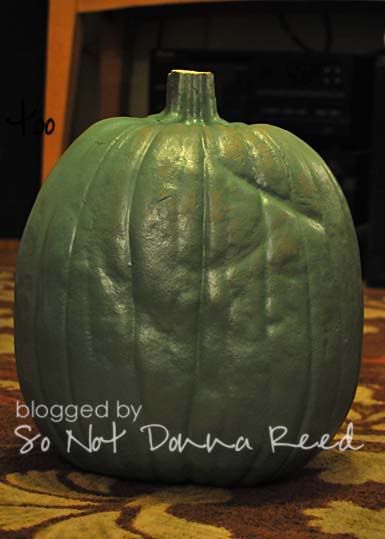
There was a visible mark on one side of the Funkin, so I used it in my favor. I used a long metal skewer to poke holes in the Funkin, then fed black pipe cleaner through the holes...
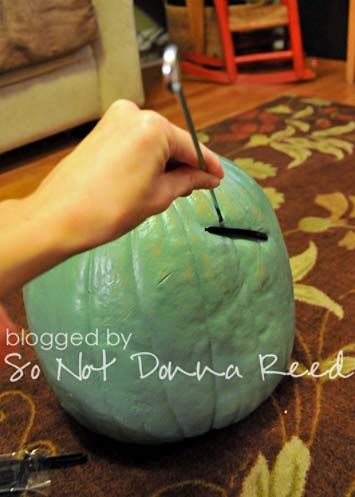
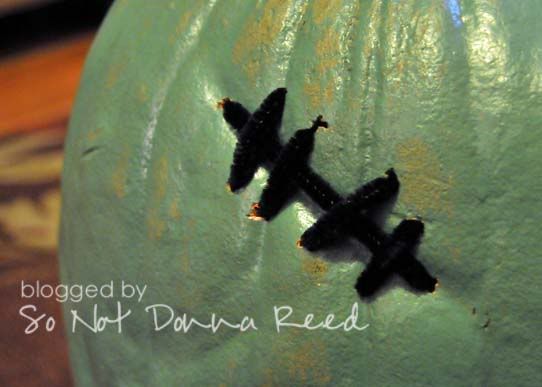
I made more holes, and used more pipe cleaner to form stitches.
Next, I cut v-shapes out of strips of black duct tape, and placed them around the Funkin's stalk to serve as hair.
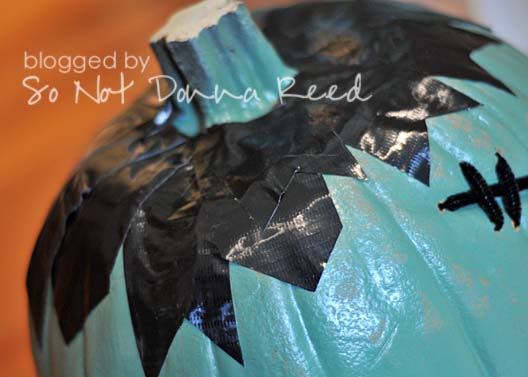
A little bit of craft paint for the eyes...
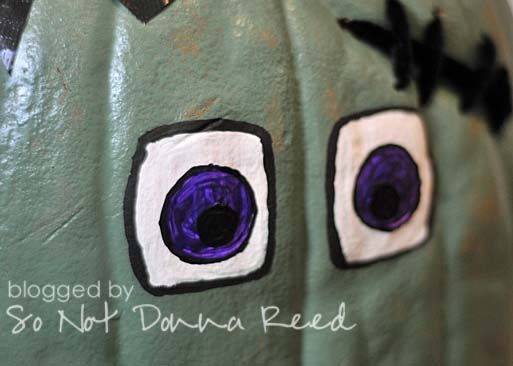
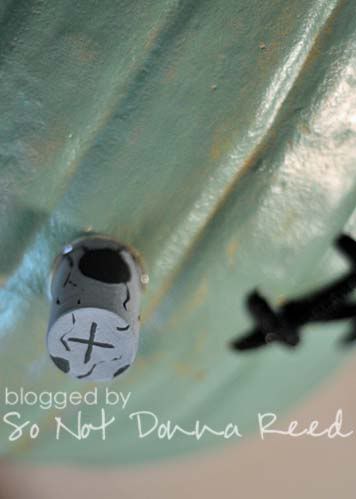
I painted wine corks grey, and added some black details to make the neck bolts. Then the hubband busted out the hole saw and drilled out spots on either side of the Funkin so I had a more secure way to attach them. A little hot glue around the corks, and into the holes they went.
I finished off the nose and mouth with more craft paint, and {voila!} ~ one Funkin Frankenstein....hence, "FUNKINSTEIN".
I was excited to go and see the other pumpkin creations, but alas, both kids are now {sick} ~ so we'll be missing school, and the festival, and the tinier of the tiny people will also be missing out on what would've been her first big-kid-school field trip. :( Bummer. Hopefully everyone will be well by Monday so that we can to door to door begging for sugary treats. ;) Ahhhh, gotta love Halloween!

Tuesday, October 11, 2011
Some Love for the {D}
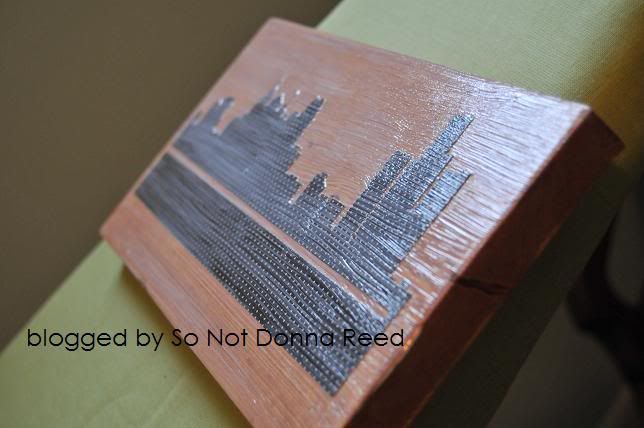
With our Tigers in the play-offs and our Lions having a 4-0 (Now 5-0!) start to the season, and having just spent a weekend in the city with the hubband for our anniversary, I've had the {D} on my mind, and I wanted to bring something of the city into our home. So I came up with this...
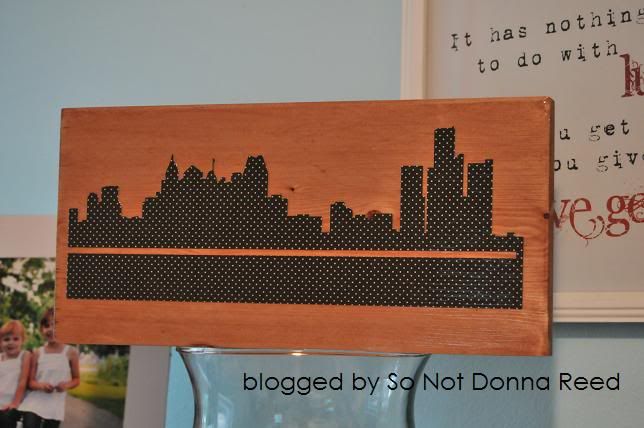
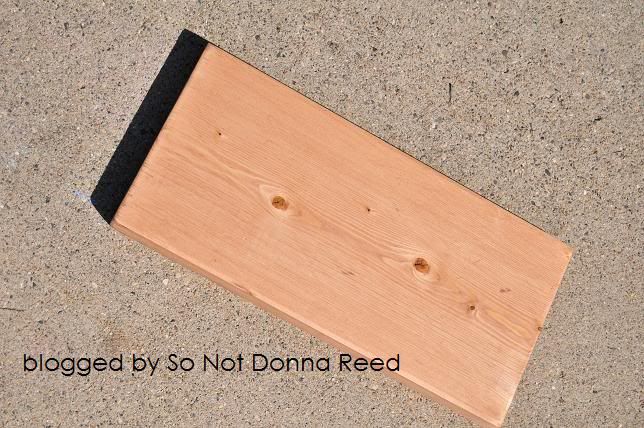
First, I used my Silhouette and cut out the outline of the city's skyline. Then I found a perfectly-sized piece of scrap wood leftover from our bench project. I stained it with cherry stain and waited for it to dry.
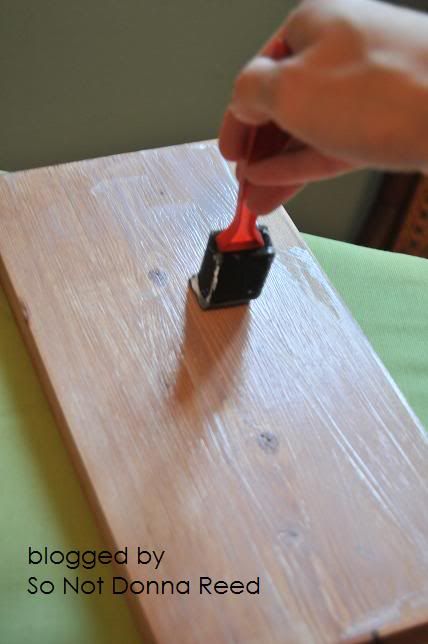
Then I hit the board with a coat of ModPodge...because that's how I roll... ;)
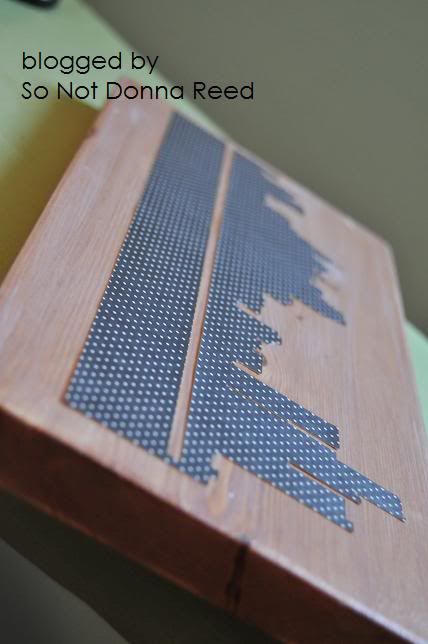
I carefully placed the skyline on the board, making sure it was as straight & even as possible, and pressed down & out to get rid of any bubbles.
Another coat of MP on top was next...
After the MP dried, I hit it with a coat or 2 of clear spray paint to seal it.
Still not sure where it's going to go...but I have a few ideas for some other items to go along with it for a Detroit montage...
Tuesday, September 20, 2011
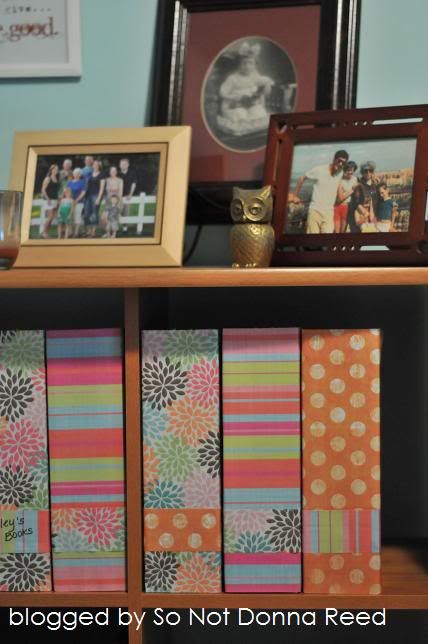
Pretty Paper-Covered Paper Keepers
It's the beginning of another school year...which means we're all being inundated with insane amounts of paper coming home from school with each of our tiny people...every...day. Homework, graded papers, PTA flyers, info. on extracurriculars. I'm not the "keep everything" kind of mom. I look at the graded papers, give the appropriate acknowledgement, and then {BAM!} into the recycling bin it goes. But, there's still quite a lot of stuff that has to be kept. Fund-raising paperwork, classroom newsletters w/ important information, and the weekly letter books being brought home by the Kindergartener, to name a few. So it quickly became clear that I really {needed} someplace to put all of this....stuff... Enter my $5 solution.
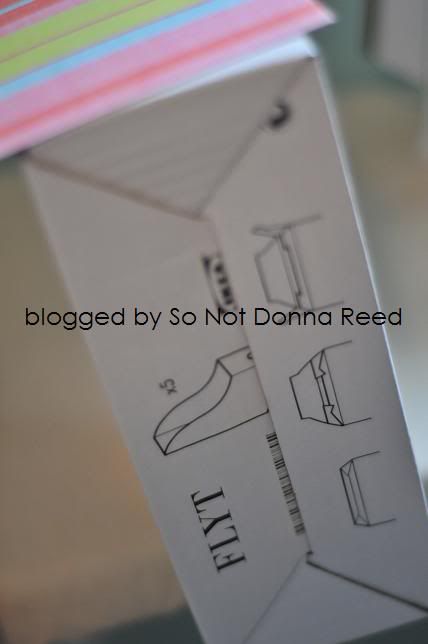
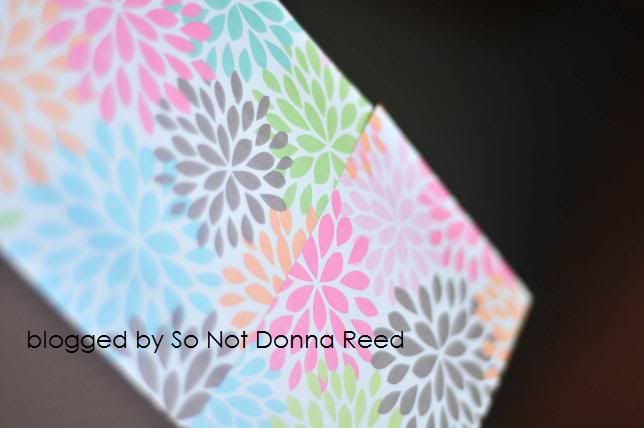
I started out with a set of magazine files from Ikea. I went cheap and bought the cardboard Flyt version...a pack of 5 for $1.99. Being cardboard, they're not completely sturdy...but being cheap I can afford to replace them in a year if I need to, and I do think they'll make it through at least one school year, so I feel pretty good about it. The sad truth, though, is that they're not all that pretty. Enter some pretty scrapbook paper I picked up at Hobby Lobby.
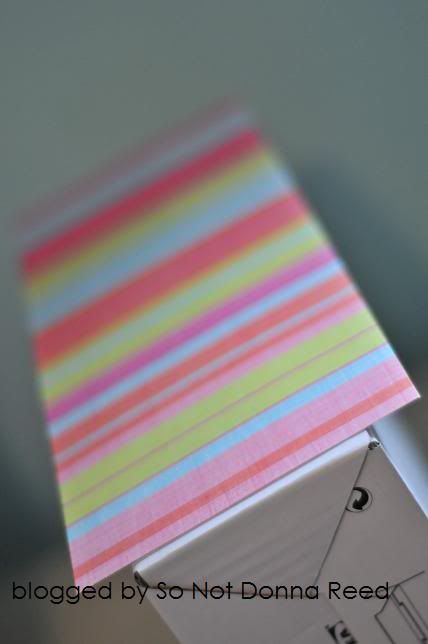
First, I cut each piece into a 5 inch wide strip ~ thus leaving plenty of extra paper to wrap around the side.
You can see that the paper didn't make it all the way to the bottom of the magazine box, so I had to get a bit creative to make sure all the cardboard got covered.
For some of the boxes, that meant overlapping the paper (b/c it was 8 1/2 x 11). I strategically placed the overlap...you'll see why in a second.
For other boxes, I cut the paper (12x12) into 2 pieces and left a tiny white band that matched the spot of the overlap on the other magazine files. I knew I'd be covering those spots over later.
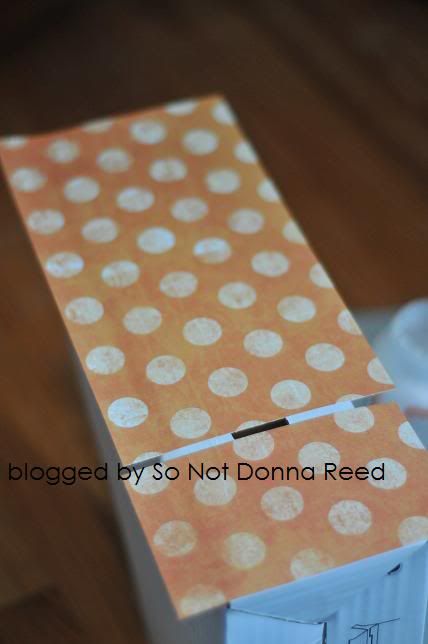
I put a layer of mod podge (of course I did!) on the cardboard, then carefully placed the paper where I wanted it and pressed down to get the paper as smooth and bubble-free as possible. Once the fronts were done, I put some more mod podge along the side of the magazine file and folded the extra paper over the edge.
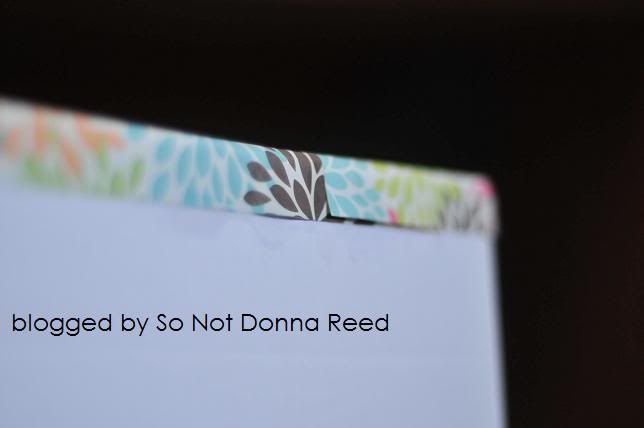
When that was done, I took the left-over paper and cut 2 inch wide strips, which I then used (again with the mod podge) to cover over the spots where the paper was either over-lapping or cut.
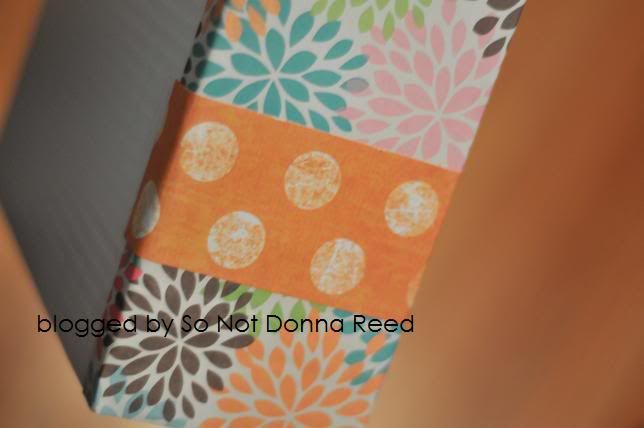
I think the coordinating papers make the boxes stand out...and make them a little bit more {fun}, too.
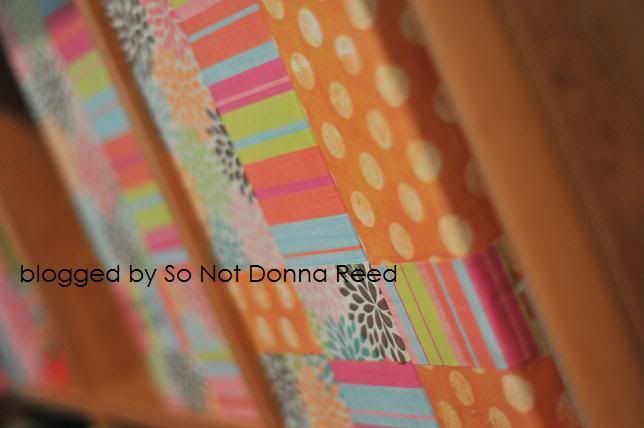
I popped them onto the shelves in my craft room, and now I have a spot to corral all of that insane paperwork that comes home week after week. So far, so good!
My apologies for the crappy photos. The hubband got a new computer, which means I've now got his old one (which is still far better than what I had before) & it's not compatible with the prehistoric version of photoshop I own. I'll be upgrading soon ~ elements 10 comes out in october! until then....all I've got is Paint. UGH.
Monday, September 12, 2011
I {LOVE} it when a plan comes together...
After several failed attempts and a whole heckuva lot of frustration, I am beyond {thrilled} to say that I have finally found something that works for me. And I'm going to share it with all of you!
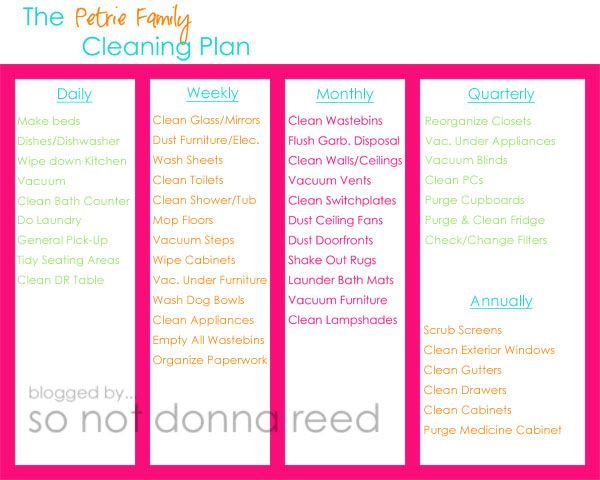
The idea for this type of chart came from this post at Jen's IHeart Organizing blog.
The basic idea is to figure out what household tasks you need to do on a daily, weekly, monthly, quarterly and annual basis, and put them on a handy-dandy little chart. Obviously, what goes where is going to depend on your own family's specific needs. For example ~ we are a 2-dog family, so vacuuming really {has to happen} every day or we're dealing with dog hair tumbleweeds. It ain't pretty. If your home is pet-free, vacuuming once a week might suffice. Figure out what works best for you, and go from there!
Also, you'll notice that the tasks are pretty simplified. The words "Wipe down Kitchen" and "Clean Bath Counter" are simplified versions of what I really probably need to do. But it's awfully hard to wipe down a counter when there's stuff on it...so clearing it all off and putting everything away is implied. I did this for a couple of reasons. 1 - Hopefully I can get to a point where the counter is usually clear to begin with, so wiping it down is all I need to do. And 2 - It's important (at least I think it is) to keep the number of items on the daily list down to a manageable amount. There's nothing more demoralizing that feeling like you're failing every day because you can't get to everything on your list. I put the {bare minimum} on the daily list ~ the things that will make the most impact if I don't get them done on a daily basis ~ and then I do my best to get to those things every day.
There are so many {fantastic} things about this chart. I love that it keeps me on task on a day-to-day basis, and that I have a visual reminder of what I've already taken care of and what I have left to do...especially when it comes to some of the monthly and quarterly items. Let's be honest, here. Things like dusting ceiling fans and vacuuming registers...those are the kinds of tasks that I'll put off until the job is so disgusting that I feel the need to shower after I've finished. I love knowing that things aren't going to get that far-gone again! I love that using this list will most-likely help our appliances work better and last longer, because I'm being reminded to take better care of them! My most favorite thing about this chart is that, because I popped it into a page protector, I can mark items off the list with a dry erase marker, and erase the marks when it's time to start over again...so I'm not re-writing the same things over and over again, or wasting paper by having to print it out again and again.
Now...I didn't make a printable of this to share with you all, because it wasn't {my} idea. If you love this idea, but you're not so handy with the computer and what-not, you can head over to Jen's blog and follow the link to her Etsy shop. She has all sorts of amazing and wonderful {goodies} in her shop ~ check-lists, logs, calendars ~ you name it, she's got it. Everything she offers is reasonably priced, and {pretty} to boot.
As for me, I made my own printable in Photoshop & had it printed at Costco (b/c we don't have a color printer at home). I have found that a few of the tasks on the list need to be shifted from daily to weekly or vice-versa, and that there were a few items that I wanted to add to the list, so it's still a work in progress. Not a big deal ~ I'll just keep working off of this one until I have a new one printed.
So, there you have it! I'm not saying it's {perfect} ~ I tried to allow myself a "day off" last week and it took me a lot longer to get everything back in order than I thought it would ~ but it's a major improvement over where I was before I started and I feel like it's something that I can stick with long term. I hope it works for you, too!


