The only problem with my little plan was that the tiny people would have a difficult time coloring, drawing, writing, etc. if they didn't have a hard surface to put the paper on. I thought about going out and buying them lap desks ~ but I wasn't about to drop $20+ of my limited vacation funds on 2 lap desks for the trip. So I decided to make them myself!
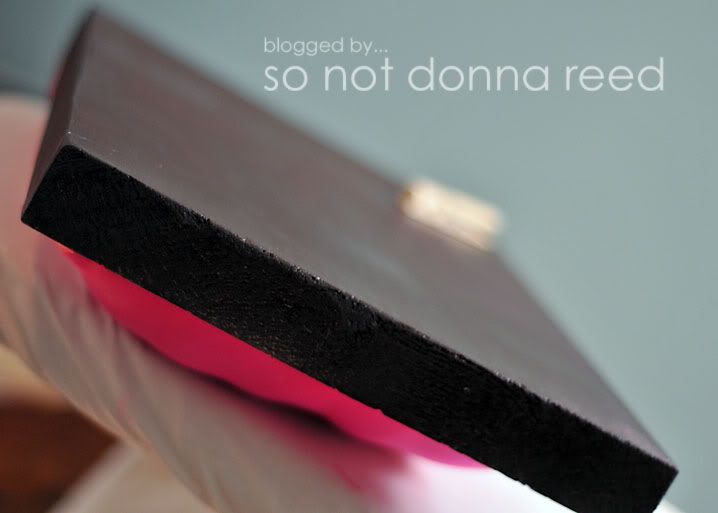
Cute, right?
I started out with 2 large boards I had swiped from the hubbands stash of previously mentioned {free} wood.
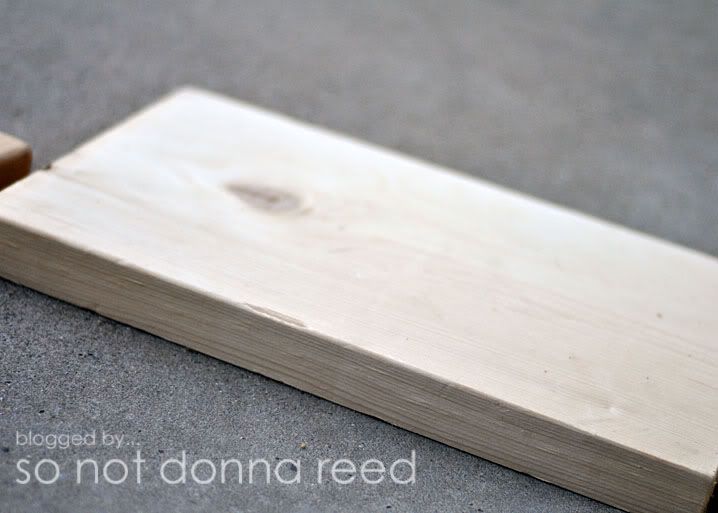
After giving them a good go-over with the sander, I hit them each with a couple of coats of brown spray paint that I already had on hand.
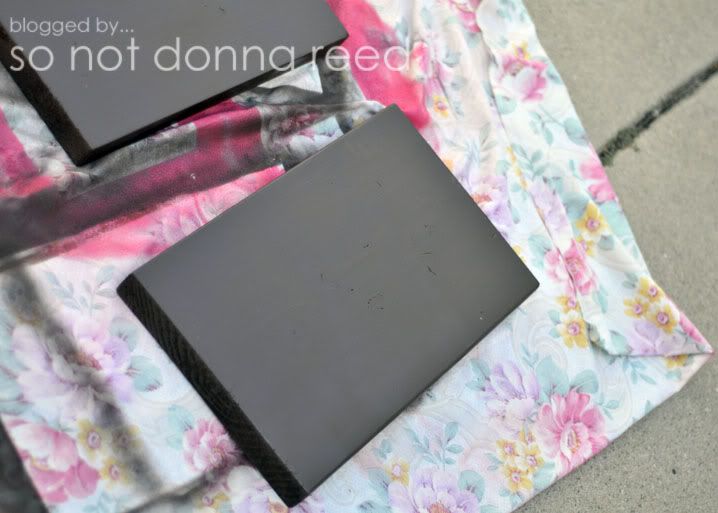
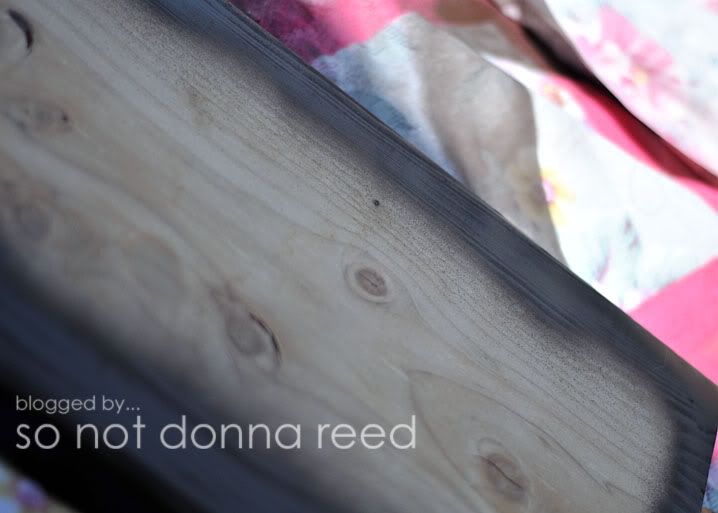
I sprayed around the outsides of the back of the board, too, just so no unfinished wood would show.
Then I took my fabric (in this case, a pillow case that I cut in half) and started stapling it onto the board across what would be the top of the lap desk.
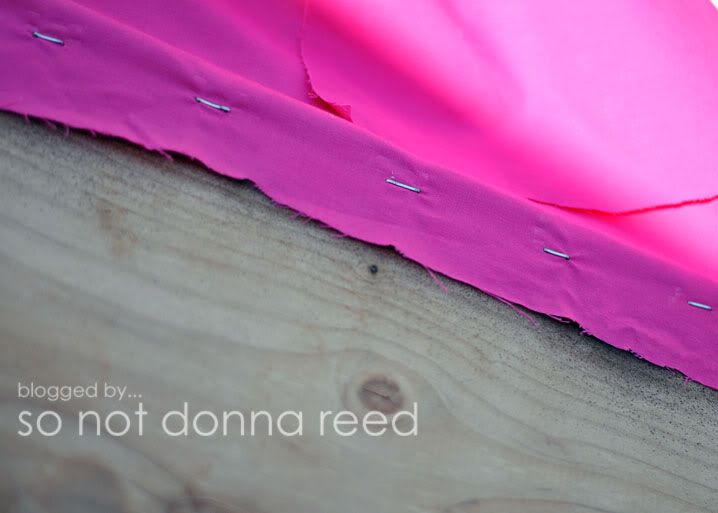
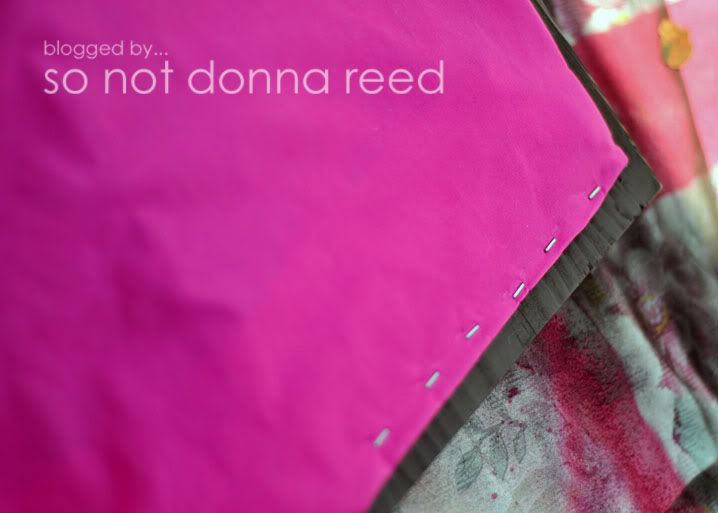
Next, I folded the extra fabric under and stapled it down the sides of the board, making sure to leave it loose enough for the stuffing to fit in without tearing the fabric.
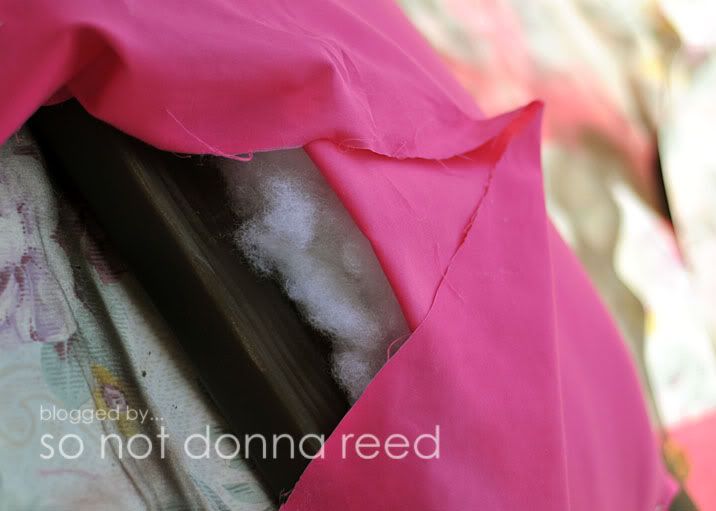
I used some pillow stuffing I had on hand and just crammed some in there. Make sure you get it into the corners!
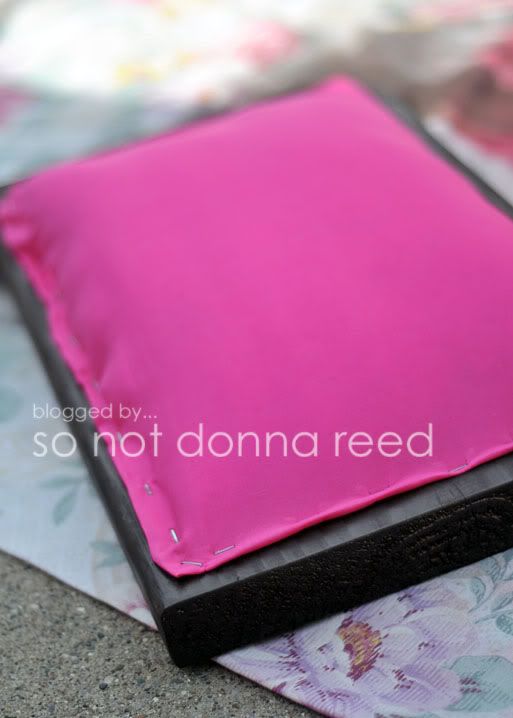
Then I folded the remaining fabric under, again, and stapled across the bottom to close the hole.
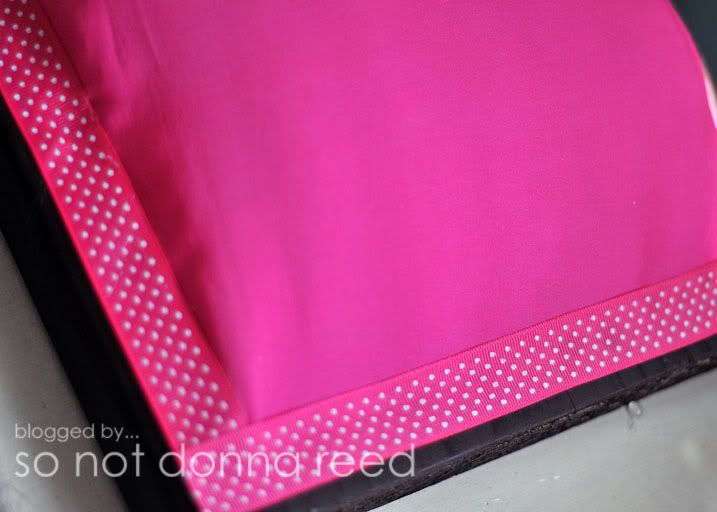
Finally, I busted out the good 'ole hot glue gun and glued down some decorative ribbon to cover the exposed staples. Yes, this makes it pretty. But also, since I was planning on using these in the car, I didn't want to worry about the exposed staples getting hot.
Here she is all finished!

I did hot glue a clothes pin to the top ~ thinking that it would work to keep the paper/s held down on the lap desk. Unfortunately, both of the tiny people managed to break their clothes pins off of their desks within the first 24 hours. I may try it again using Gorilla Glue, but the lack of a clip to hold things down didn't seem to bother either of the kids.
So, all in all I ended up with 2 pretty & functional lap desks for right around a buck a piece. Seriously. I had the wood, spray paint, pillow case (fabric) and stuffing already. The only thing I bought was the ribbon - for a whopping $2. And I have a bunch left over!
And, most importantly, the kids {loved} them and got a lot of use out of them. They'll be nice for homework when school starts back up, too!


Teehee, I just pinterested your post :)
ReplyDeleteCan you give the dimensions of the wood & fabric?
ReplyDeleteSorry it took me so long to answer, Melena! The wood I used is approx. 17 1/2 x 11, and about 1 inch thick. It was scrap wood, and I didn't cut it down at all. I cut the fabric about 20 x 14, so I'd have enough room to tuck it under, and so that the stuffing would fit, as well.
ReplyDelete