As moms, we all know that at some point there is going to come a day when everything just goes wrong. That was my day yesterday. I got up in the morning, got tiny person 1 to the bus stop, and spent the morning making my list/s of things that I wanted to get accomplished while tiny person 2 was at preschool. Then I went to the basement to get clothes out of the dryer only to find that the clothes in the dryer were...wet. Cold, and wet. I ran the dryer and started sorting the laundry into loads (am I the only person in the world who can do at least one full load of {pink} every week?), then I went back to check on the clothes in the dryer b/c I wasn't having a good feeling. Yep...still cold. AWESOME. I told the hubband there was a problem with the dryer (perks of having him work from home!) and he checked it out...and then called the repair dude.
I went on about my day, and as I was preparing to take tiny person 2 to preschool, I realized that tiny person 1 had left her homework folder at home. Oooops. So, I threw the folder in the car, took TP2 to preschool and went straight to TP1's school to drop off the folder....only to find that the secretary had been trying to reach me b/c TP1 was in the office....throwing up. Seriously - f.a.n.t.a.s.t.i.c. Of {course} I'm going to have a puking kid....when I Can't Do Laundry!
So now, I've got 2 kids at home all day, and I have to get the house picked up and clear the area around the dryer so that repair dude can do what he needs to do when he gets here....TOMORROW. Yep - I've got laundry ~ literally ~ hanging from the rafters in the basement. Anyone wanna trade? NO!?!?!? Oh, c'mon! ;)
On the bright side, when I have a {crap} day, I usually find that doing something I really want to do makes me feel better. At least a little. So I have a quick, easy and inexpensive project to share ~ just in time for Thanksgiving. Here's the finished product, displayed in the entryway of our home...
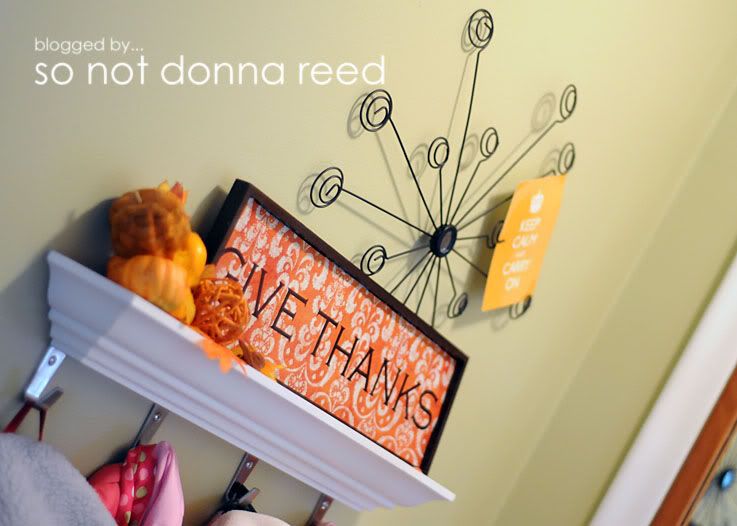
To start, I picked up an inexpensive wooden craft frame from Michael's. I brought it home, spray painted it brown, and measured the opening to determine the size of the print I'd need to fit inside it. Now, I've showed you this trick before, but I'm showing it again b/c 1) it's one of my favorites 2) when it comes to "oversized" prints, this really is a cheap and easy way to get what you want & 3) I want to remind everyone that you don't have to be limited just b/c you don't have a color printer at home. I used the measurements to make the art for the opening, then determined the closest {larger} size available from my Costco photo lab and moved the art onto a plain background in correct print size, so it looked like this...
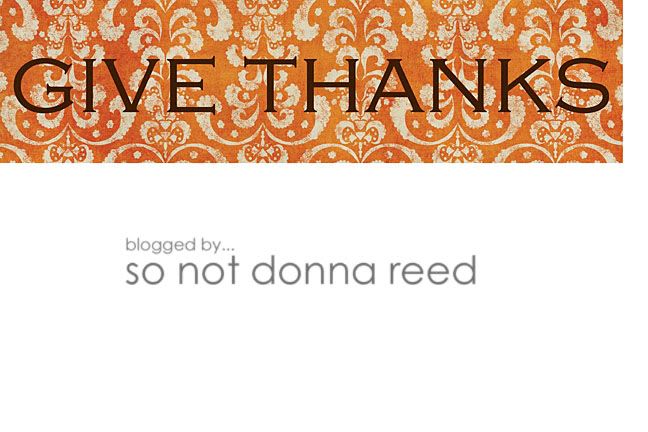
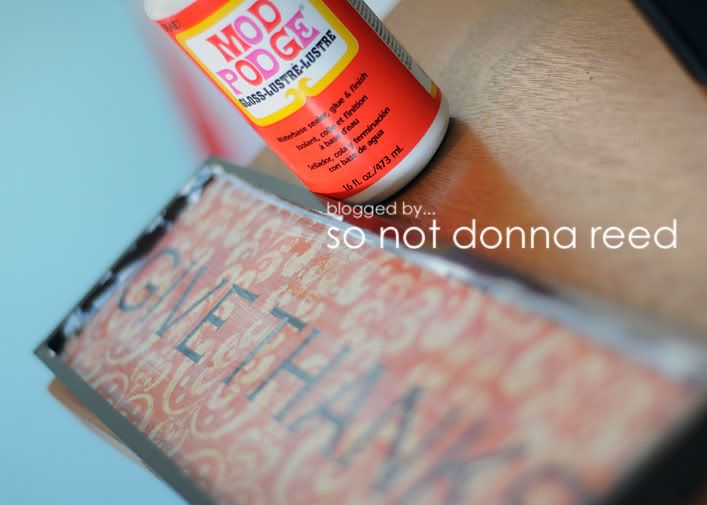
Sometimes I darken the excess area, but I didn't bother with it this time. All I had to do was cut off the excess, do a little trimming to make sure it fit well, and bust out the mod podge to attach it to the frame.
So there you have it! A quick, easy, inexpensive little reminder to "Give Thanks" ~ which is just what I needed on a day when nothing seemed to be going right.
OK...I'm going to try to share this and see it it works! {Click Here} to download this printable ~ it's made to print as a 12x18. Enjoy! Go check out all the great ideas being shared at the Weekend Wrap-Up Party @ Tatertots & Jello!
