What my budget does have room for is a $3 unfinished wooden plaque from Hobby Lobby. Yep...$3. Get a load of these puppies...
I used one of those, to make this...
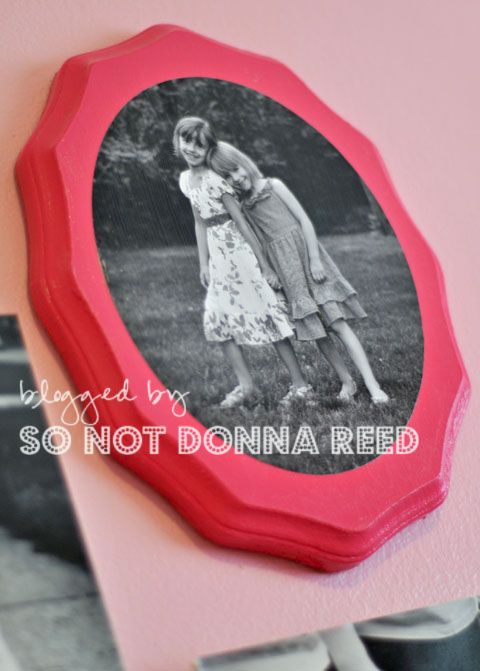
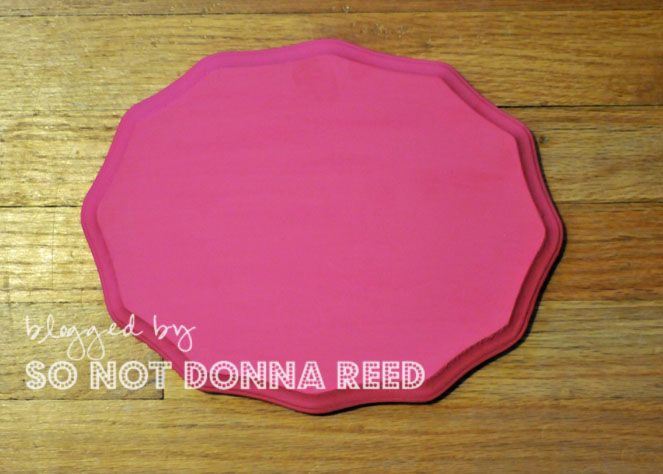
I chose the French Oval plaque for my first project. Knowing that I wanted to use it in my daughters' bedroom, I grabbed some craft paint in hot pink while I was there. You might be wondering why I chose craft paint instead of spray paint ~ and the answer is simple...it's less expensive. I sanded the edges of the plaque (I did a half-a$$ed job of it...I'm not gonna lie...) and put on a couple of coats of paint.
After I had the plaque, I realized that I didn't have a photo that I was really excited about using. So a trip to the park with my subjects had to happen. I was lucky and got a great shot of them that I just love. Looking at the photo and the plaque, I decided that the hard edges of a rectangular picture would be a bit harsh against that soft lines of the French Oval plaque ~ so I worked a little photoshop magic. Once I had the photo transformed into an oval, I moved it onto a plain white background, floated it in the center, and ordered an 8x10 print from my lab.
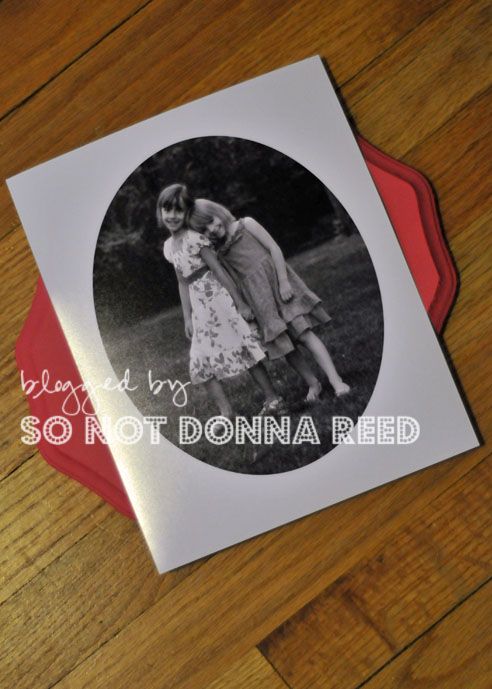
Now for the hard work. ;) I cut out the picture, then covered the plaque with an even coat of ModPodge. Then I carefully placed the photo in the center of the plaque, and gently worked out the air bubbles under the picture. Now...I'm notorious for getting all excited at this point and rushing through the next steps because I just can't wait to see how it's going to turn out. Let me tell you ~ that is one surefire way to get wrinkles and ickiness on your picture. So I had to work reallllllly hard to walk away and let it be for a while.
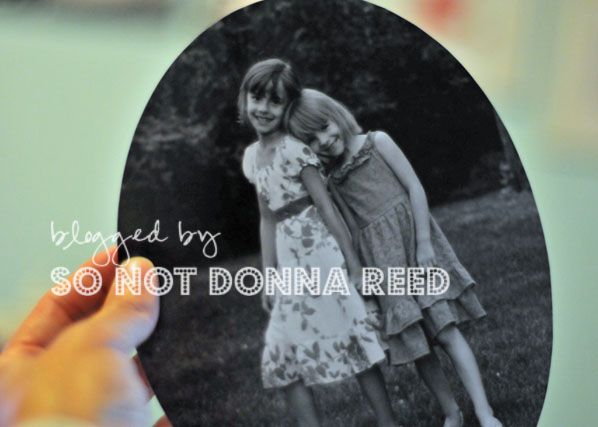
After the first coat of ModPodge had dried, I came back and put another coat over the whole thing...picture and all. If you're wondering why, there are a couple of reasons. First, I'm using gloss / lustre MP, rather than the flat variety. There's no real reason for that decision ~ it's just what I have and I'm not buying new when I have some left. If I just did the frame, the frame & the photo wouldn't match in sheen, and I wanted them to match. Also, MP gives a bit of protection for the photo itself.
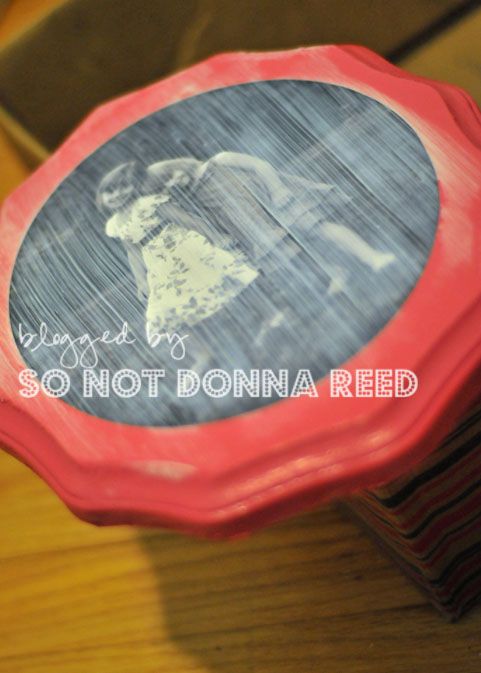
I let it dry overnight, and then today, while the girls were at school, I mounted it on the wall in their room using command strips. (LOVE those things!)

Here it is with a bit of context.
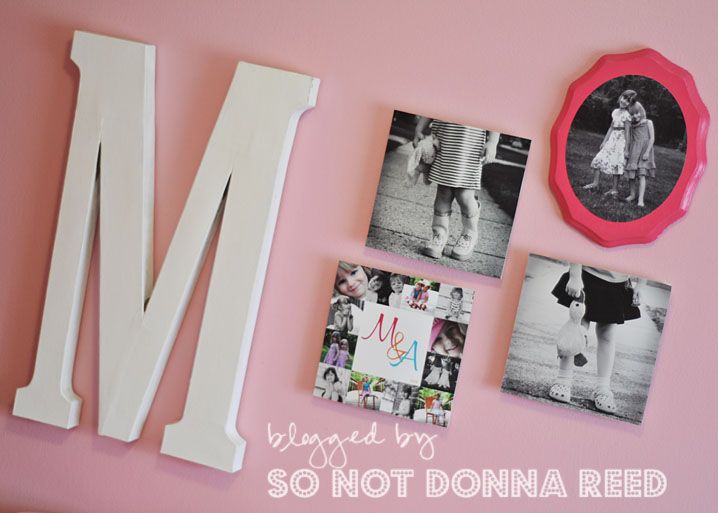
I have every intention of doing this again, probably a few times. I'd like to add a couple of these to the gallery wall in my craft room, and I'm kind of {loving} the idea of this kind of frame for a seasonal holiday pic of the tiny people.
So...the plaque was $3 ~ the print was $1.50 ~ the paint was around $1 (and I have plenty left over). I had sponge brushes & ModPodge already. So we're looking at a grand total of right around $5.50. Yeah, I think my budget can handle that. ;)

