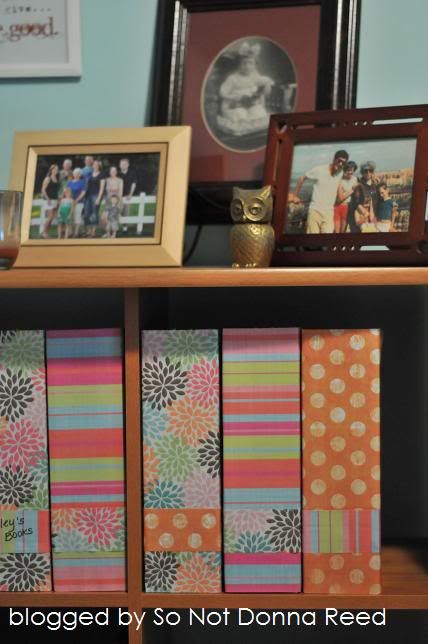
It's the beginning of another school year...which means we're all being inundated with insane amounts of paper coming home from school with each of our tiny people...every...day. Homework, graded papers, PTA flyers, info. on extracurriculars. I'm not the "keep everything" kind of mom. I look at the graded papers, give the appropriate acknowledgement, and then {BAM!} into the recycling bin it goes. But, there's still quite a lot of stuff that has to be kept. Fund-raising paperwork, classroom newsletters w/ important information, and the weekly letter books being brought home by the Kindergartener, to name a few. So it quickly became clear that I really {needed} someplace to put all of this....stuff... Enter my $5 solution.
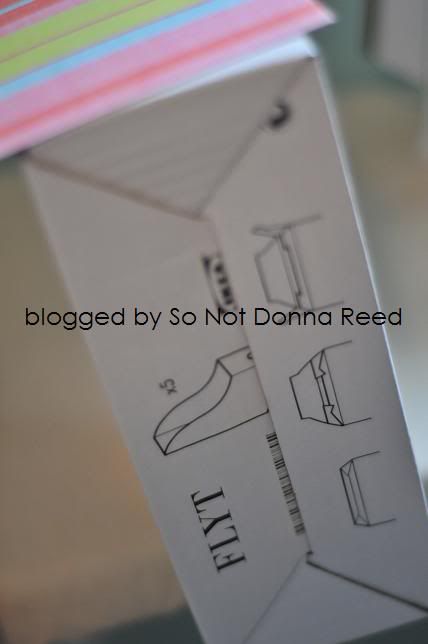
I started out with a set of magazine files from Ikea. I went cheap and bought the cardboard Flyt version...a pack of 5 for $1.99. Being cardboard, they're not completely sturdy...but being cheap I can afford to replace them in a year if I need to, and I do think they'll make it through at least one school year, so I feel pretty good about it. The sad truth, though, is that they're not all that pretty. Enter some pretty scrapbook paper I picked up at Hobby Lobby.
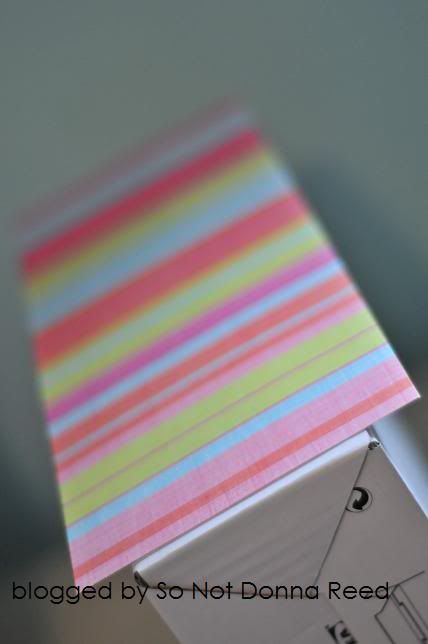
First, I cut each piece into a 5 inch wide strip ~ thus leaving plenty of extra paper to wrap around the side.
You can see that the paper didn't make it all the way to the bottom of the magazine box, so I had to get a bit creative to make sure all the cardboard got covered.
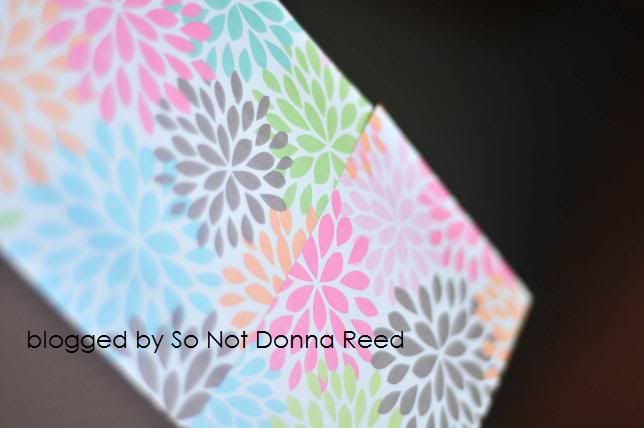
For some of the boxes, that meant overlapping the paper (b/c it was 8 1/2 x 11). I strategically placed the overlap...you'll see why in a second.
For other boxes, I cut the paper (12x12) into 2 pieces and left a tiny white band that matched the spot of the overlap on the other magazine files. I knew I'd be covering those spots over later.
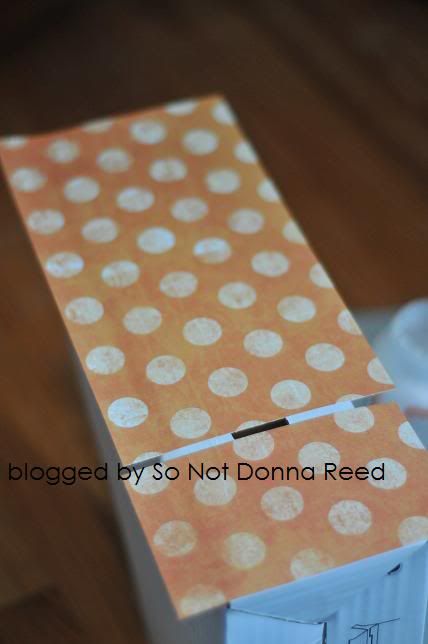
I put a layer of mod podge (of course I did!) on the cardboard, then carefully placed the paper where I wanted it and pressed down to get the paper as smooth and bubble-free as possible. Once the fronts were done, I put some more mod podge along the side of the magazine file and folded the extra paper over the edge.
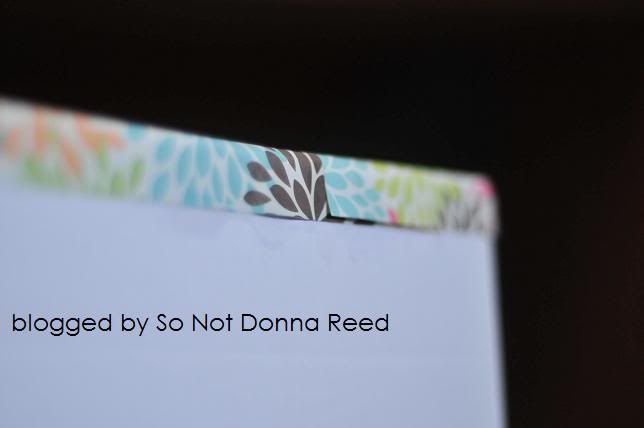
When that was done, I took the left-over paper and cut 2 inch wide strips, which I then used (again with the mod podge) to cover over the spots where the paper was either over-lapping or cut.
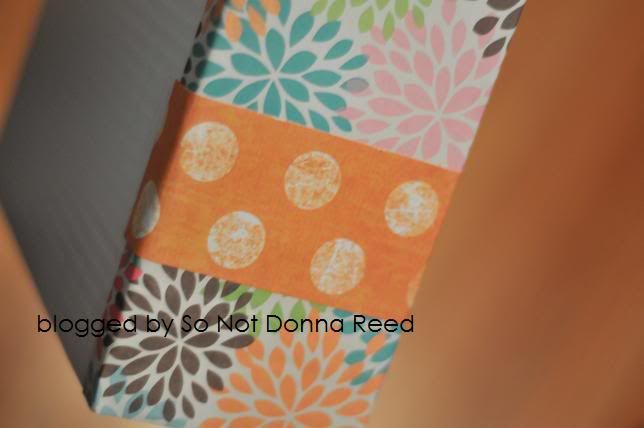
I think the coordinating papers make the boxes stand out...and make them a little bit more {fun}, too.
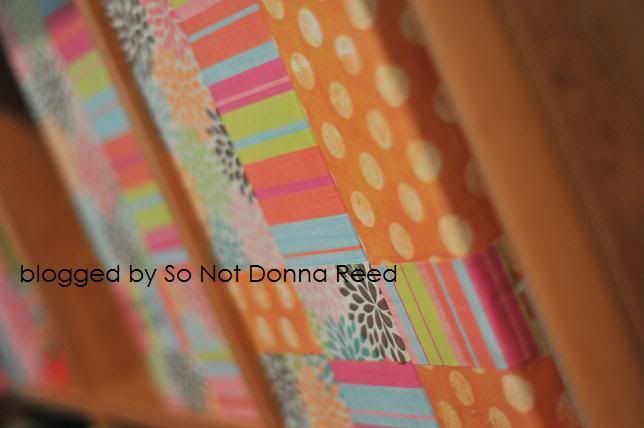
I popped them onto the shelves in my craft room, and now I have a spot to corral all of that insane paperwork that comes home week after week. So far, so good!
My apologies for the crappy photos. The hubband got a new computer, which means I've now got his old one (which is still far better than what I had before) & it's not compatible with the prehistoric version of photoshop I own. I'll be upgrading soon ~ elements 10 comes out in october! until then....all I've got is Paint. UGH.

